Organizing a successful nonprofit event is a complex yet rewarding experience. It requires the right combination of planning, while also going with the flow. You must be organized and pay attention to details, while also acknowledging that everything won't be perfect. It is an art, but luckily it isn't magic! We have created a comprehensive nonprofit event planning checklist to help you confidently begin. We have you covered from step one of the planning process to the post-event evaluation. You can finally silence the voice in your mind telling you 'you're forgetting something.' With this checklist, you will have all your i's dotted and t's crossed! The fantastic, memorable event you plan will leave a lasting impression on attendees. In turn, support for your organization will grow immensely.
Download our complete Nonprofit Event Planning Checklist
Part 1: The Overview
- Set a goal
-
Defining a goal will give you purpose while planning, and serve as a way to measure success afterward. Do you want to fundraise X amount? Do you want to raise awareness for your organization's cause? Use your goal as a way to promote your event; let people know why it is important that they come and show support.
-
- Pick a date
-
Ideally, you want to pick a date that is 12 months out. This will give you ample time to plan and promote. Don't pick anything that is too close to a major holiday or a school break. Otherwise, a lot of people may be out of town. You should also check with other nonprofits in your area. If another event is planned, you risk unintentionally competing.
-

- Create a budget
-
Setting up a budget in a spreadsheet in Excel will ensure that you maintain a profitable event. Additionally, it will help you make financial decisions with confidence. Start by contacting a few vendors to get an idea of price ballparks, then build off of that.
-
- Plan ticketing details
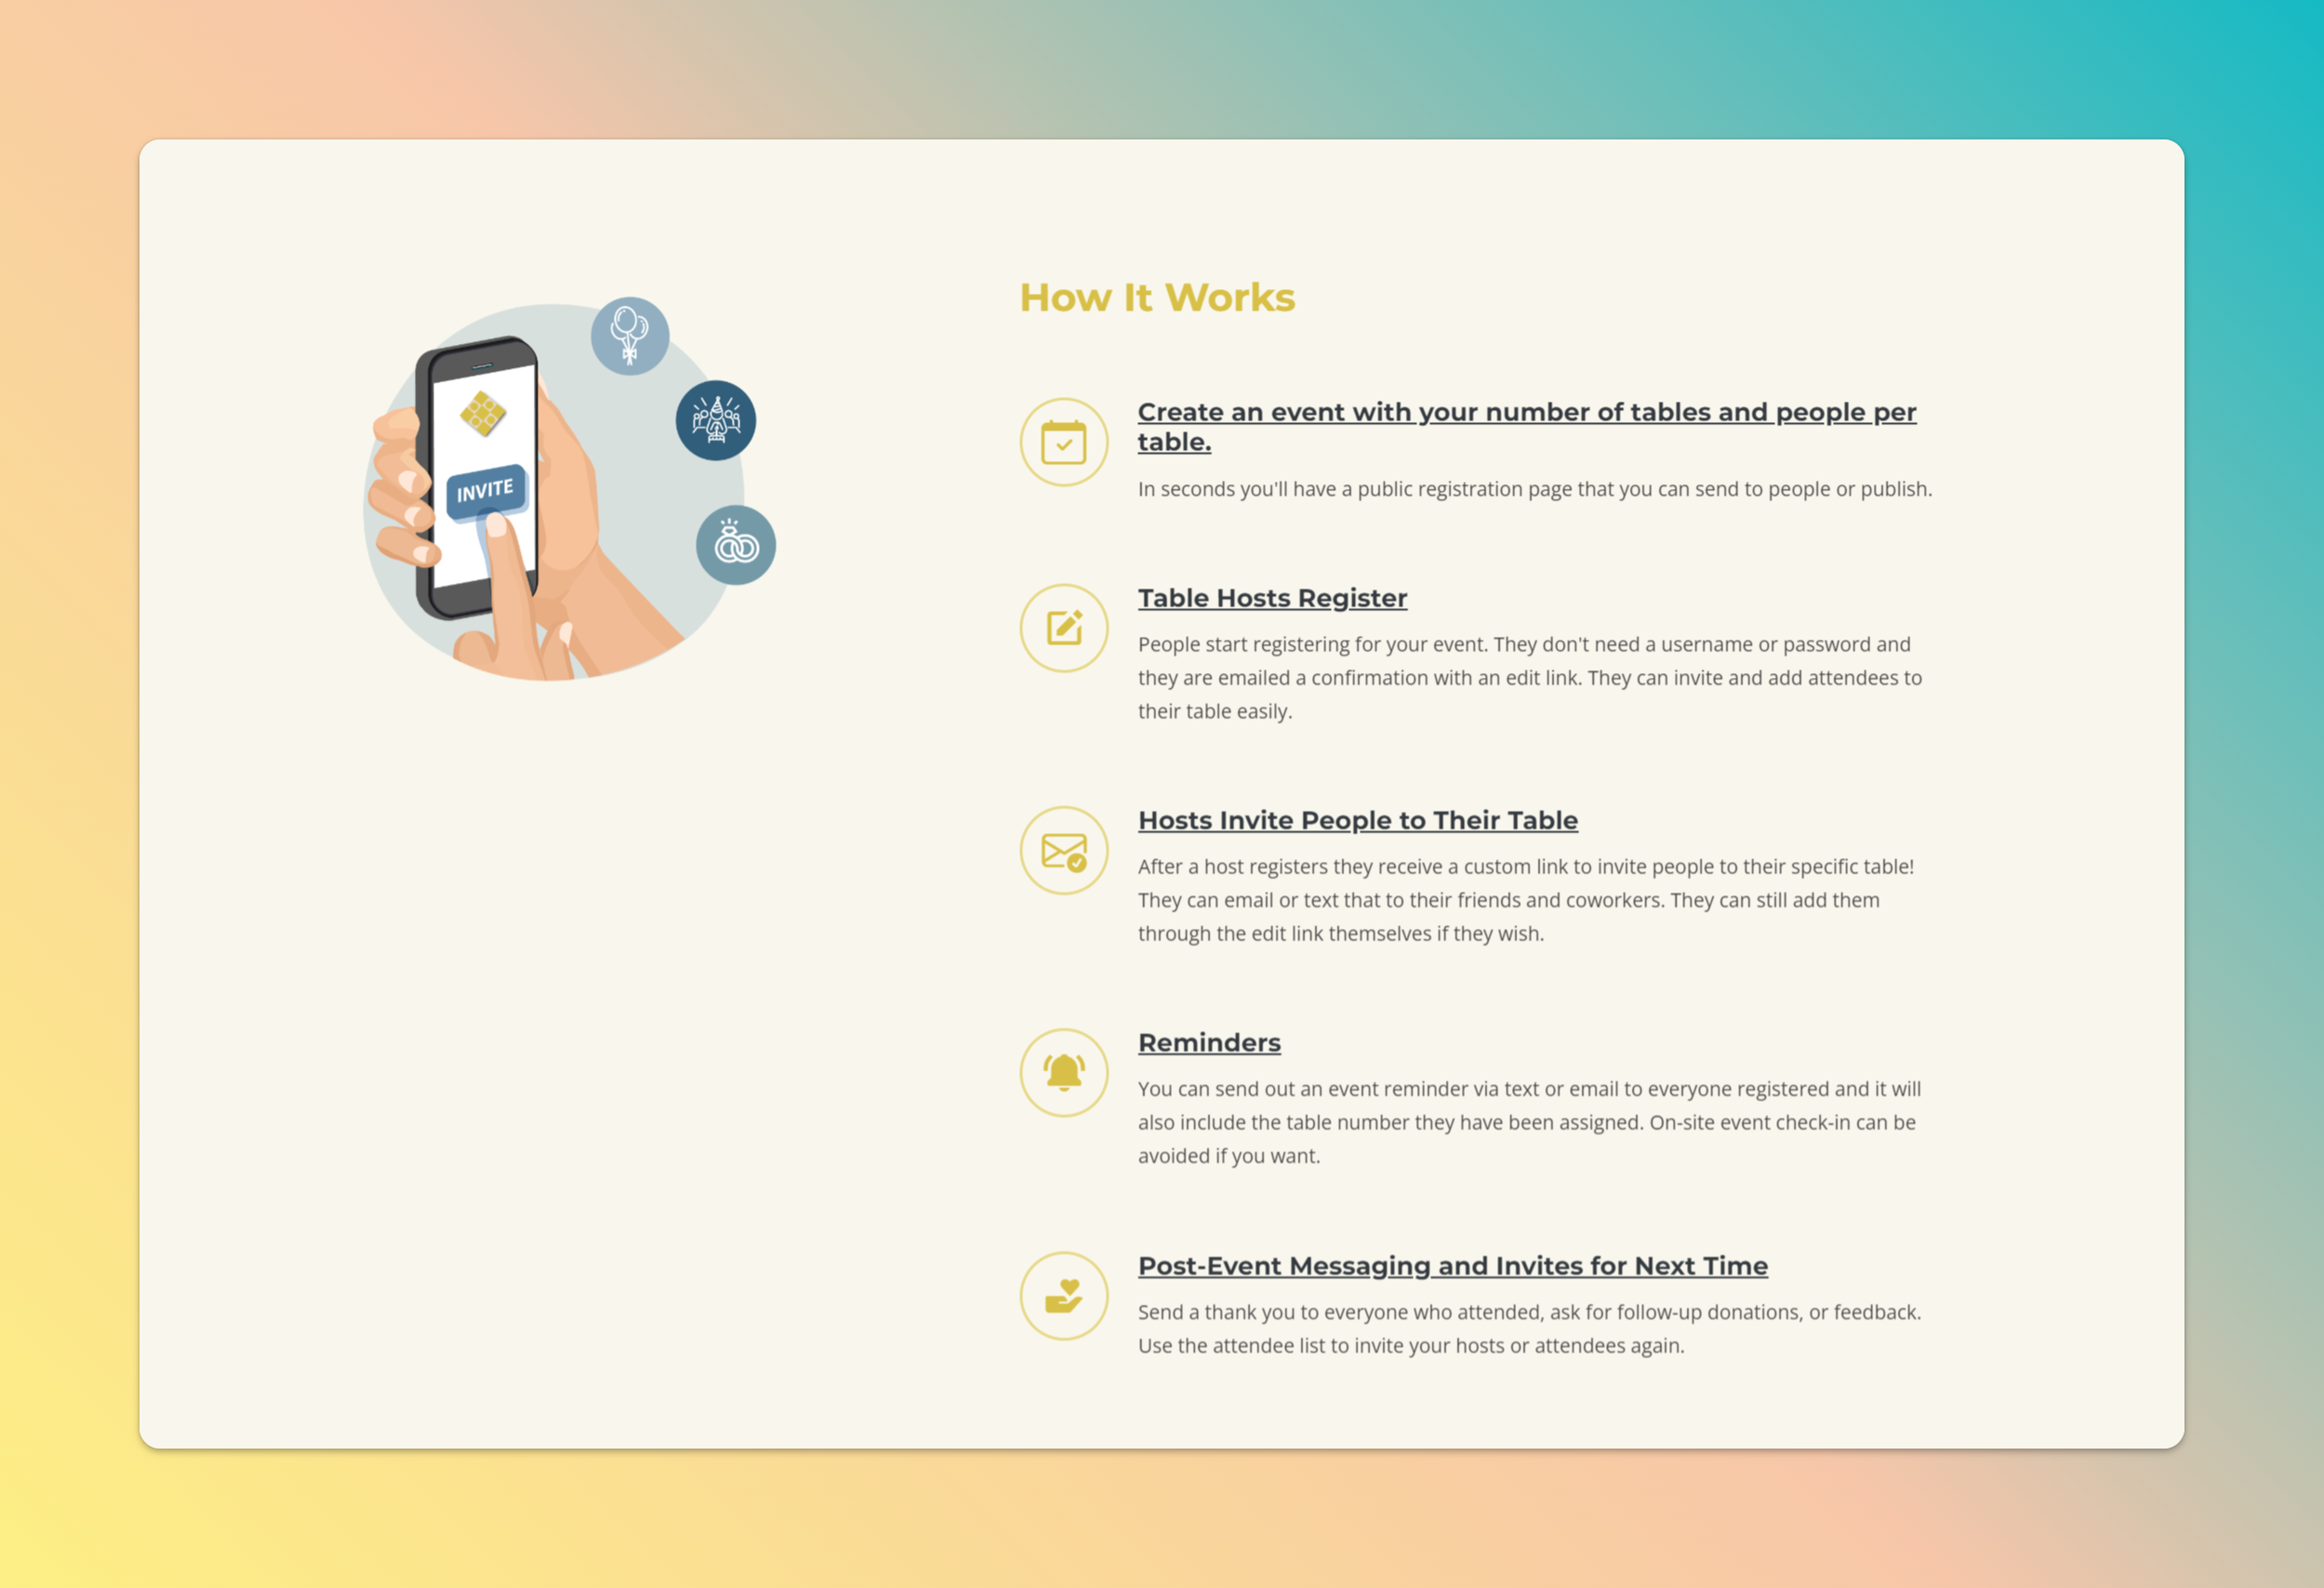
- Determine the price of your event and where to sell the tickets. You may offer fixed ticket prices, or provide options based on seat locations. Table Registration is a great platform for this.
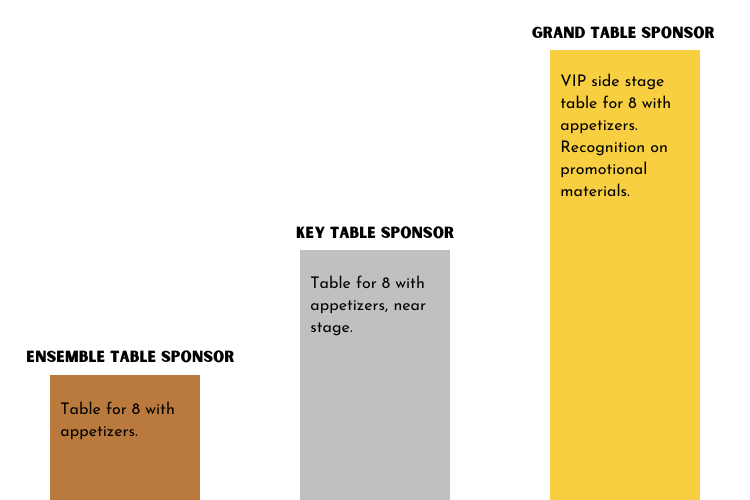
- Recruit sponsorships and in-kind donations
- Maximize ticket sales revenue for your programs by creating a sponsorship program. Have your board members and volunteers reach out to local businesses, especially those that your organization has a history with, to inquire about sponsoring your event. Offer appealing sponsorship packages which may include tickets, logo placement, and advertising in the playbill in exchange for funding.
- Design the event
- More details on this are in the next section.
- Market and spread the word
- Create a marketing schedule leading up to the event. Set a time frame for when you will begin spreading the word. You want to give people ample time to save the date, around the 6-month mark. Determine how frequently you will promote the event on social media. Print flyers to post in local businesses and churches. Send physical invitations to your supporters. You may even consider designing a special emblem or logo for the event.
- Recruit volunteers
-
Nonprofits already depend on volunteers every day, your event will be no different. They can make your nonprofit event possible, from registration to clean-up. WhoCanBeThere offers a volunteer management solution for both everyday programs and large events. Keep in mind that extra recruitment may be necessary to meet the demands of your event. Pro Tip: sending reminders before shifts is especially important with one-time volunteers.
-
- Host the event
- Enjoy the fabulous event you have curated and be the best host you can be.
- Post-event evaluation
- More details on this are in the final section.
Part 2: Designing the Event
- Choose a theme or concept
- Nonprofit events fall anywhere on the wide range from classic to creative. You may want to stick with a black tie gala, or pick a fun and relevant theme. There are several unique ideas here.
- Create a schedule
- No event plan is complete without a timeline. Be sure to work in adequate buffers, especially if you are serving a meal.
- Select the food
- Choose catering that is both tasty and affordable. Take care to accommodate any special dietary needs by offering a dairy and gluten-free alternative.
- Arrange for entertainment
-
Entertainment sets the tone for the event, so make sure to select the right fit for your audience. Consider hiring a DJ or a live band to provide music. Other entertainment options include a silent auction or an educational speaker.
-
- Decorate the venue
- Decorating the venue creates a cohesive look and feel for the event. Choose decorations that reflect the theme and create the desired atmosphere.
Part 3: Post-Event Evaluation
- Say thank you
- Send a text to attendees, vendors, and sponsors to show how much you appreciate their support. Pro tip: save yourself from typing texts all day by using TableRegistration's automated gratitude text feature.
- Collect feedback
- Surveys provide valuable insights into what worked and what could be improved upon. It also provides a way for your attendees to process and appreciate the night.
- Celebrate success
- Take a moment to reflect on all the hard work that went into making the event a success. Celebrate your accomplishment!
- Take notes for next time
- Save your receipts, note the vendors you loved, and keep all the feedback you collected in a convenient location. This will save you time for your next nonprofit event.
Explore Other Recent Articles
How to Sell Out Your Event
Apr 2023
18 Fundraising Event Ideas
Jan 2023